The management of social networks and content creation is in full swing. That is why many content creators and community managers require tools that are in line with the times we live in. One of them is Pixbuf, which helps to share images on different social networks without any problem. So today you will learn how to install Pixbuf on Ubuntu 20.04
Pixbuf
Especially for content creators, Pixbuf offers the possibility to share, sell, and analyze your photos in a better way. With this, the application wants to sell itself as a photo manager that can share them on many different social networks.
Furthermore, the application is cross-platform with binaries for macOS, Linux, and Windows. But it also has a mobile application compatible with Android and iOS.
Some of the features that make Pixbuf a reference are
- Upload your photos to several services.
- Resize your photos and add metadata
- Share your content automatically with your followers
- Support all major social networks and photography services like Flick, Instagram, Twitter, Pinterest, Facebook.
Also, the application has an analytics section to help you know how popular your photo has been in those services.
On the other hand, the application is free but has a premium version that extends the functionality. In any case, it is a useful application focused on a certain segment of users.
Install Pixbuf on Ubuntu 20.04
We can install Pixbuf in two different ways, and each has its advantages although they are quite easy to do.
Method 1: Using the Ubuntu Software Center
Ubuntu has one of the most complete application shops in all of Linux. So Pixbuf can be quickly installed on Ubuntu.
So, open Ubuntu Software Center from the main menu.
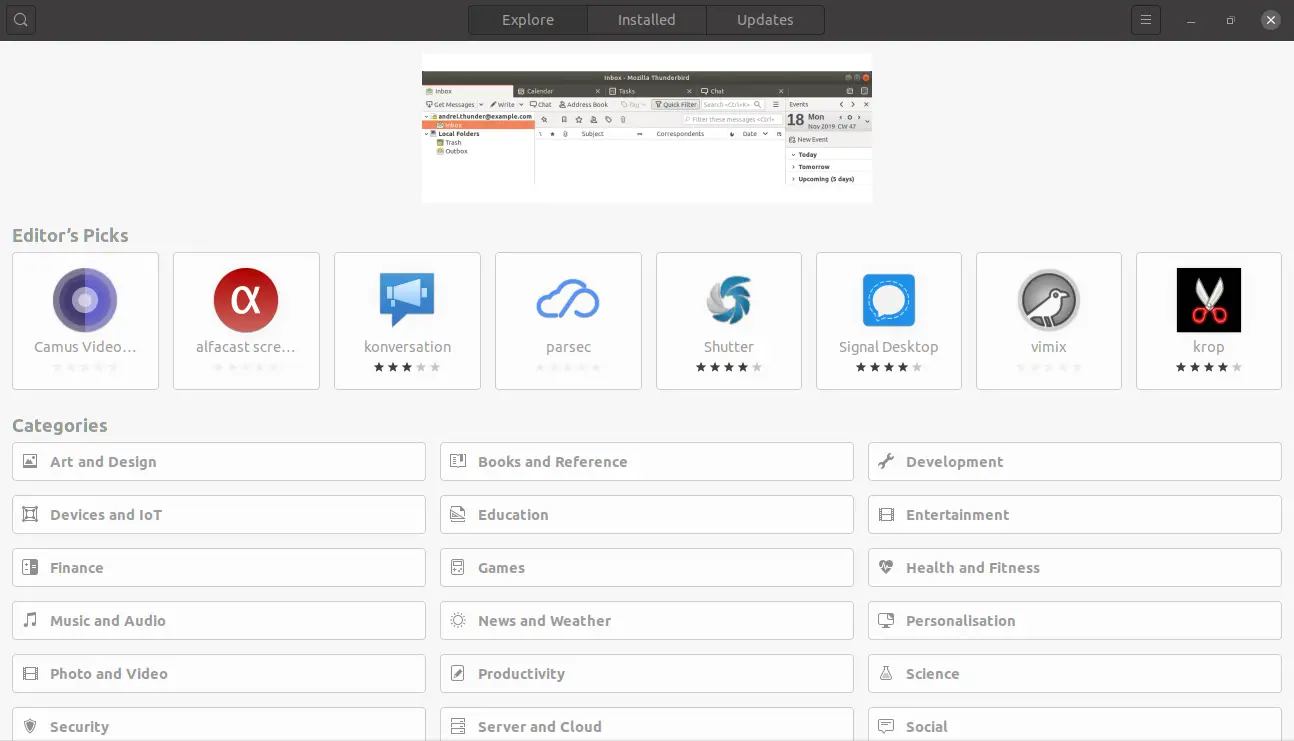
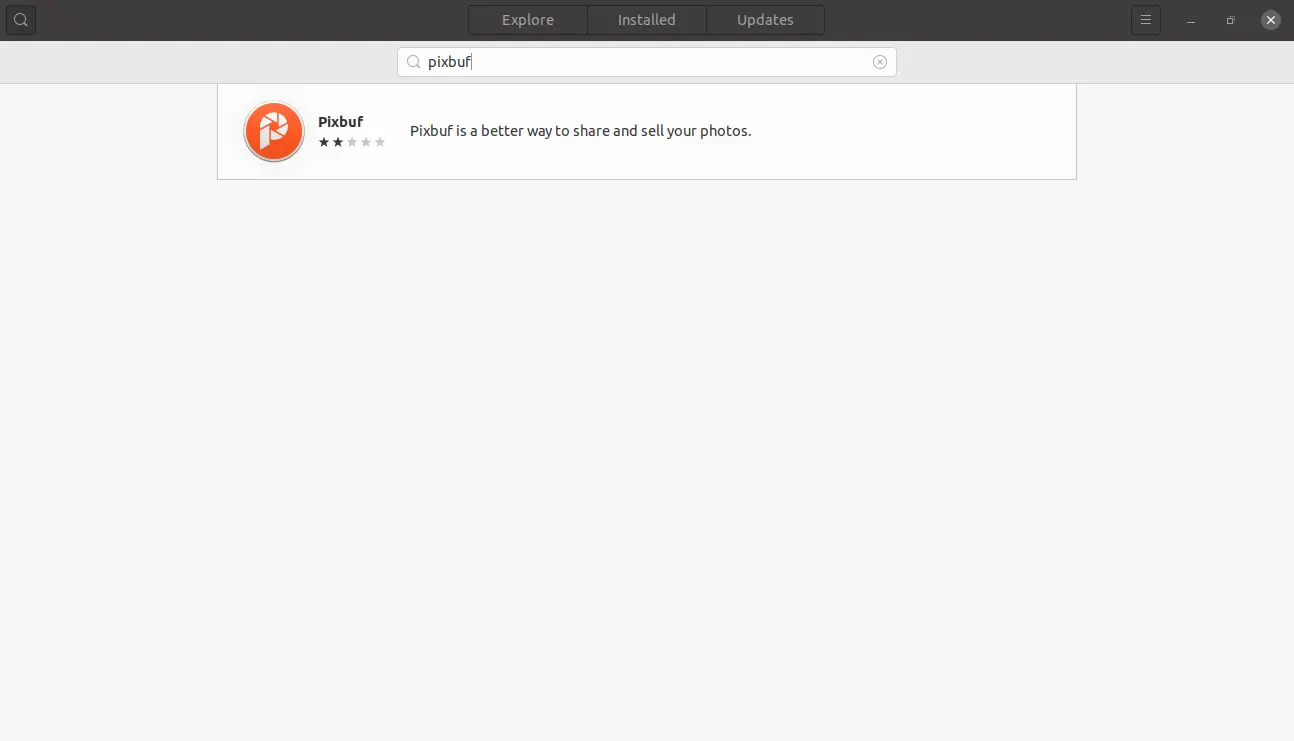
On the main screen, in the search button, type pixbuf and wait for the results. Then choose the correct result.
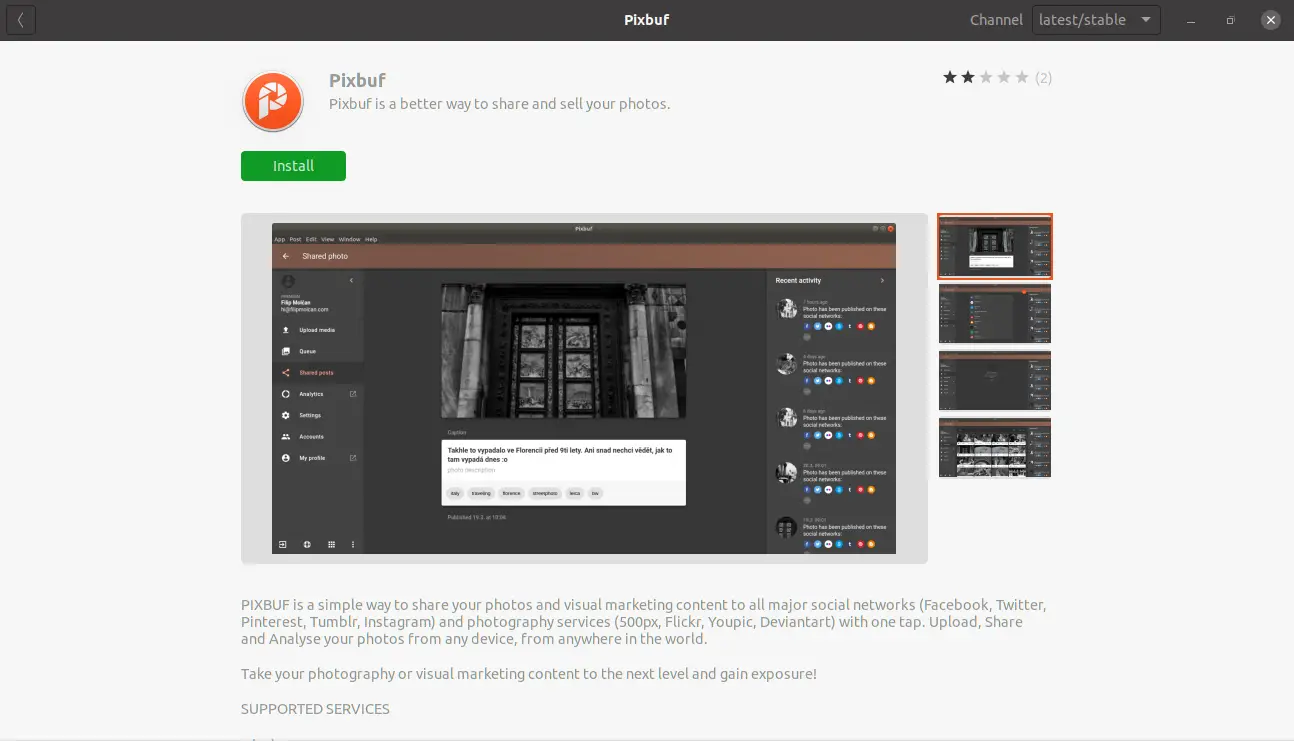
When you click on the result, you will get some information about the package to be installed. Start the installation by clicking on the Install button.
Then you can run it from the main menu.
Method 2: Install Pixbuf on Ubuntu 20.04 from the terminal
Some people prefer the terminal because it is a more direct way to install some programs. You can also install Pixbuf from the terminal using the snap command.
To do this, open a terminal and run it:
sudo snap install pixbuf-desktop
After entering your password, the installation process will begin.
In the end, you can launch it from the main menu of the system.
Running Pixbuf
As soon as the program starts, you will see a welcome screen.

After clicking the Continue button, you will see a screen where you will be asked for your email address to create your account.

You can also create your account through your social networks, such as Facebook or Twitter.
Next, you have to define the user password.
When you are done, you will see an introductory screen to the application.
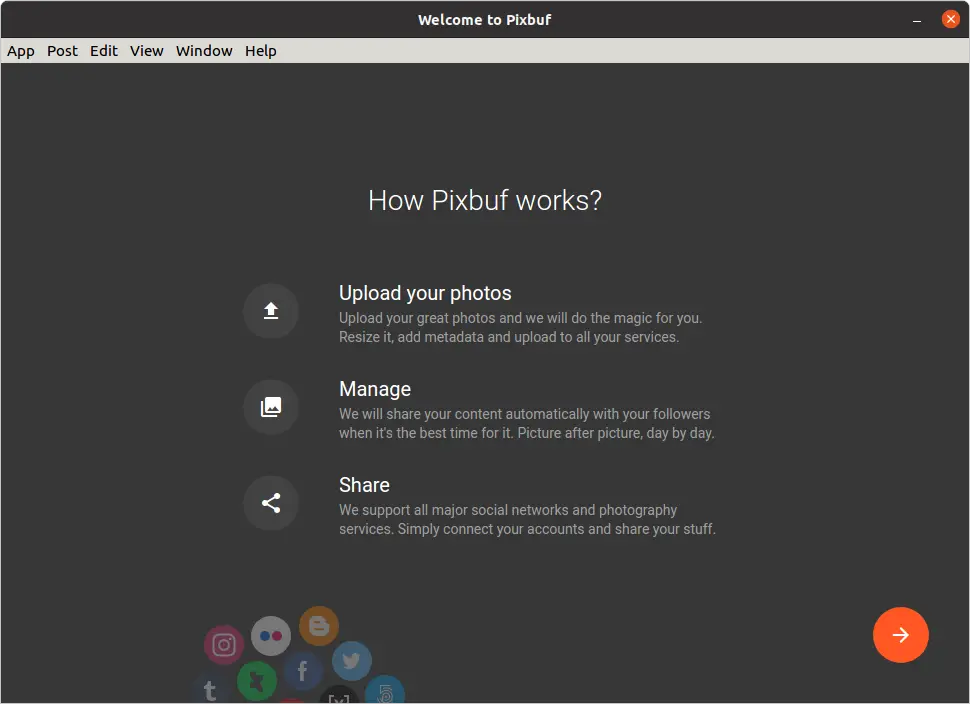
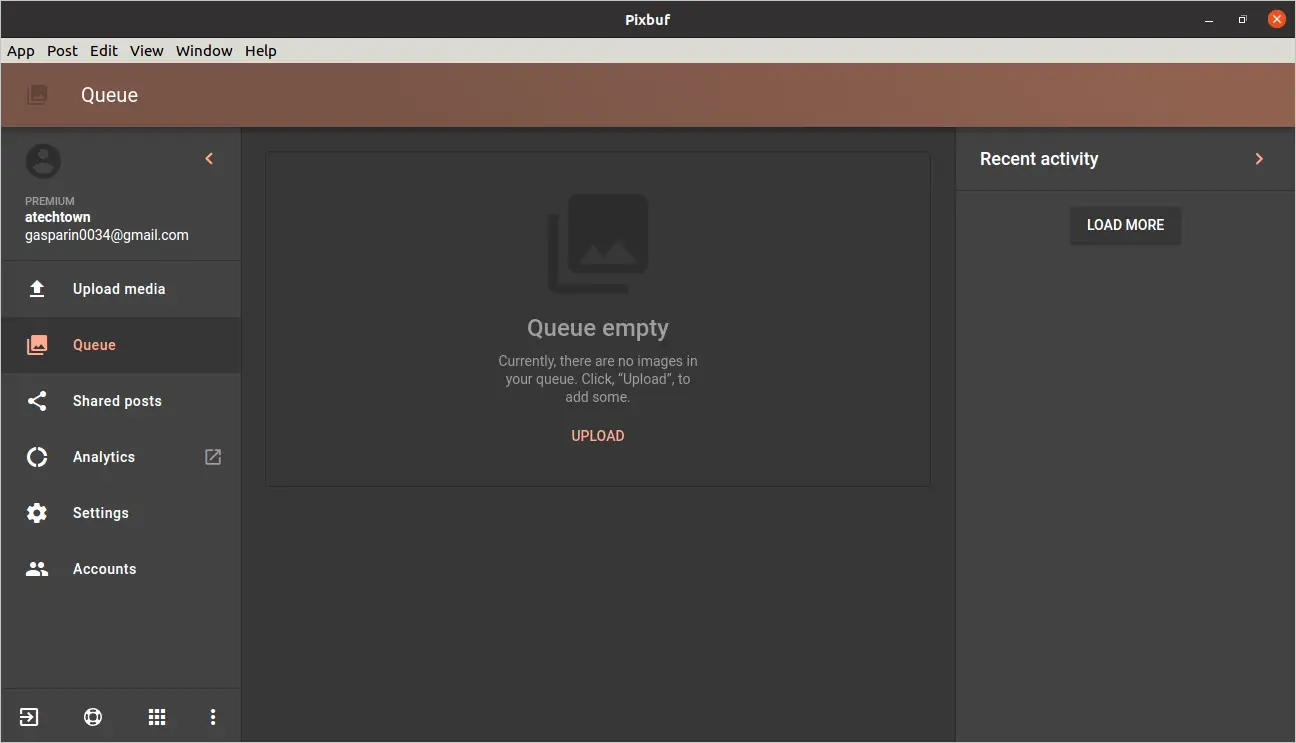
And when you close it, the main interface of Pixbuf. Now you can use the application without any problems.
Conclusion
Pixbuf is a great tool for many content creators. Well, today you know how to install it in Ubuntu 20.04 using several different methods.
With its well-defined features, Pixbuf wants to be the ultimate tool for managing and sharing photos in various services. It also includes an analytics tool that will help content creators even more.
Thank you for reading our post and please share this post.