Gradle is a tool for automating the building of our code based on the contributions made by tools such as ant and maven but with some improvements.
One of them is that while Maven uses XML language, Gradle is based on DSL because it focuses on solving a specific problem. In addition to this, it allows to easily manage this file because of its clear and readable syntax.
With Gradle, we can expect a tool that is similar to Maven but adds other functionalities or improves existing ones. Thus many Java developers use it daily in their projects.
Install Gradle on Debian 11
Gradle is not included in the Java repositories but you can still install it on your system.
To do this, open a terminal and update the system completely.
sudo apt update
sudo apt upgrade
After this, we need to install Java on the system. You can do this by executing the following command
sudo apt install default-jdk
If you want to get Java up and running on the system, you can read our post about Java on Debian 11.
Also, we need the unzip package which is available in the repositories. So, install it by running
sudo apt install unzip
Now it’s time to download Gradle. At the time of writing this post the latest stable version is 7.2 Before you start, you have to check the Gradle web page to verify which is the latest version and modify the following commands.
So, navigate to the /tmp/ folder and download from there.
cd /tmp/
wget https://services.gradle.org/distributions/gradle-7.2-bin.zip
Unzip it to another folder like /opt/.
sudo unzip gradle-7.2-bin.zip -d /opt/gradle
You can list the contents of the Gradle folder to verify the existence of the corresponding binary.
ls /opt/gradle/gradle-*
bin init.d lib LICENSE NOTICE README
Now with Gradle installed, we need to create a file in /etc/profile.d/ so that we can use it without problems in the terminal.
sudo nano /etc/profile.d/gradle.sh
And add the following
export GRADLE_HOME=/opt/gradle/gradle/gradle-7.2
export PATH=${GRADLE_HOME}/bin:${PATH}
Save the changes and close the editor.
What we are doing is telling the system where Gradle is installed.
Give the script permission to run.
sudo chmod +x /etc/profile.d/gradle.sh
Apply the changes
source /etc/profile.d/gradle.sh
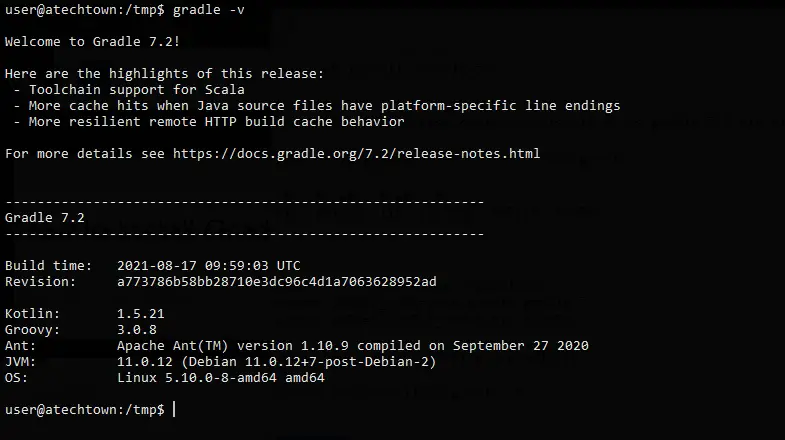
Now, verify the gradle command works by running
gradle -v

So, Gradle is installed correctly.
Remove Gradle
If you want to stop using Gradle, you can uninstall it from your system. To do so, just delete the folder where the binary is located.
Following this example, you can then remove it by running
sudo rm -r /opt/gradle
Also, delete the profile configuration file.
sudo rm /etc/profile.d/gradle.sh
This way you can remove it permanently.
Conclusion
In application development, many tools are used to make the process easier. Thus we find Gradle for Java application development. In this post, you learned how to install its latest version on the system so you can use it comfortably.
So, tell us, what do you think about Gradle? leave us a comment.