Fedora is another distribution of the big Linux family with the direct sponsorship of a giant like RHEL along with the support of a large community of users. This distro is innovative. With each version release, it introduces important features from the hand of RHEL. So why not deep dive and learn more about Fedora.
In this article, we will explain how to install Fedora 32 which is the latest version at the time of writing this article.
Install Fedora 32
Fedora has several versions or spins off. The official version called Workstation includes GNOME as a desktop environment. You can download it from the Fedora website without problems or via torrent.
Applications for downloading torrents in Linux
When you have downloaded it, create a bootable USB and we will start the process. When you load the USB, you will see the following image:
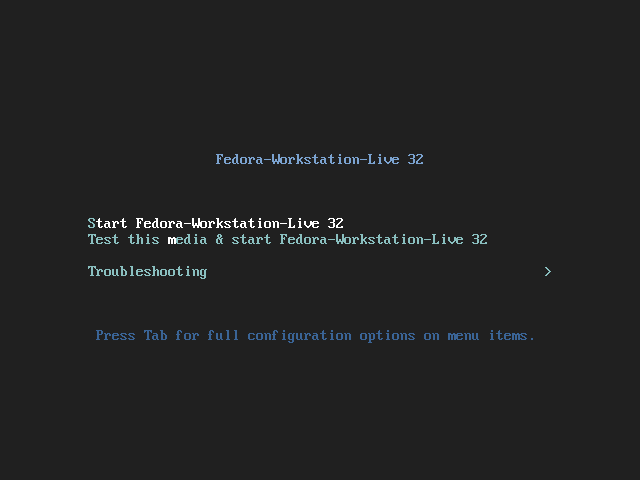
To start the installation process, choose the first option, and press the Enter key.
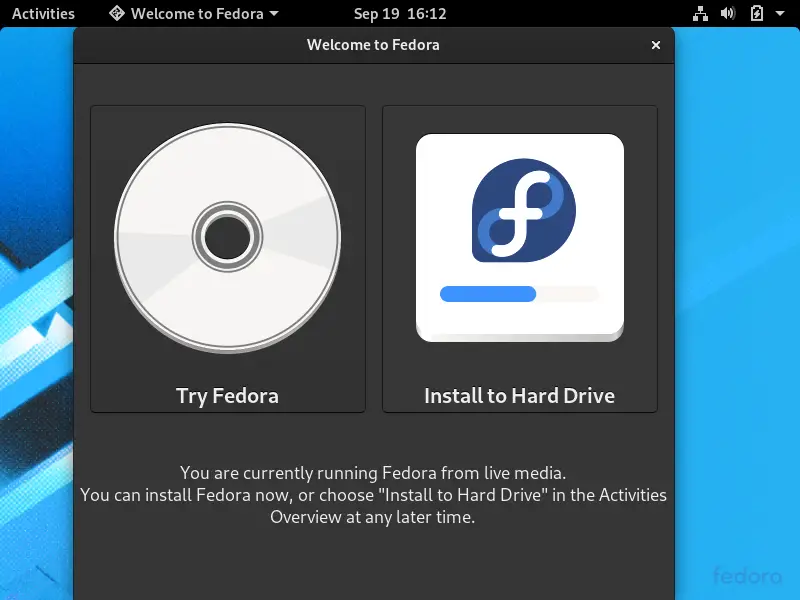
After some files are loaded, you will see a window where the Try Fedora or Install to Hard Drive option is displayed. If you want to take a look at it, you can choose the first option, but in this case, click on the second one.
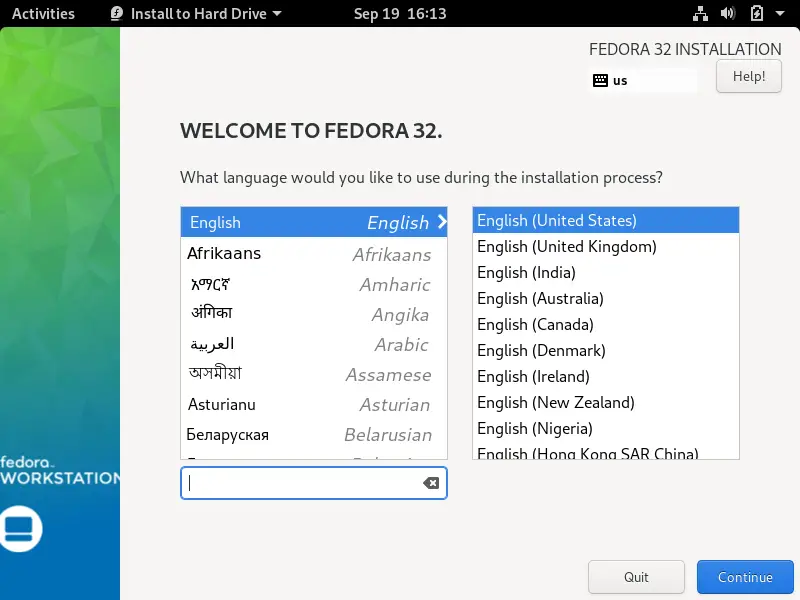
Next, the installer will start and on this screen, you have to choose both the language of the installation and the Keyboard Layout. Click on Continue.
Now you will see the installation summary.
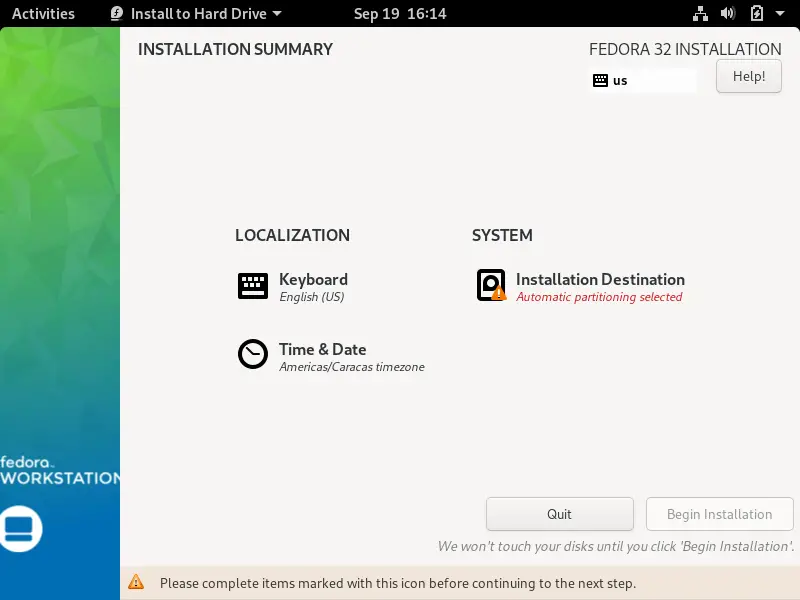
And the first thing we have to do is to work with the disk.
Creating the partitions to install Fedora
Now, click on Installation Destination to start working with the hard disk. You will see the following.
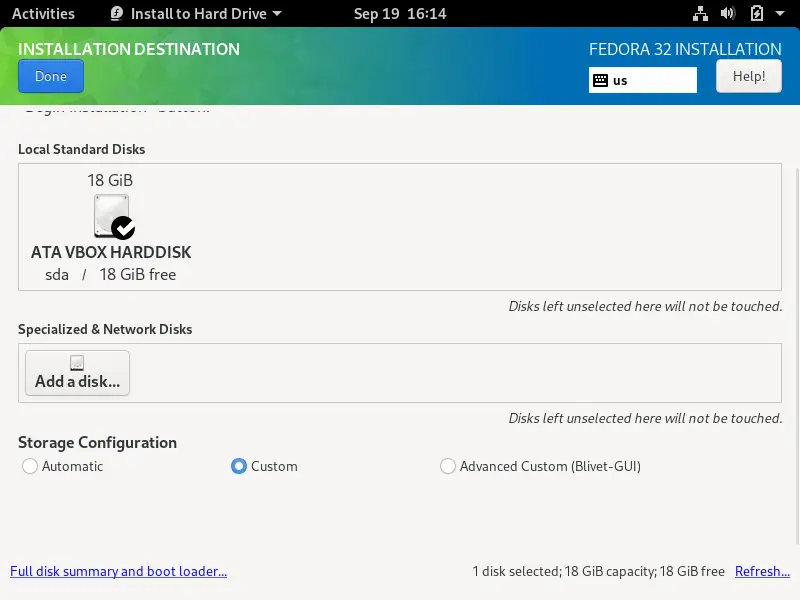
Like many Linux distributions, there is the option to let the installer create the partitions automatically. As well as you can manage them yourself manually.
To do this, in the Storage Configuration section choose Custom and click Done.
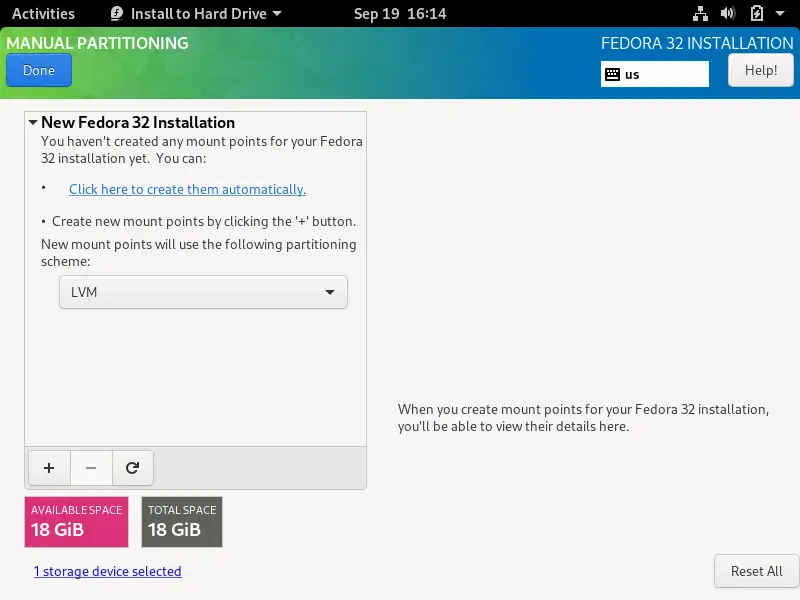
Now, in the list that appears choose Standart Partition and create a new one by pressing the + button.
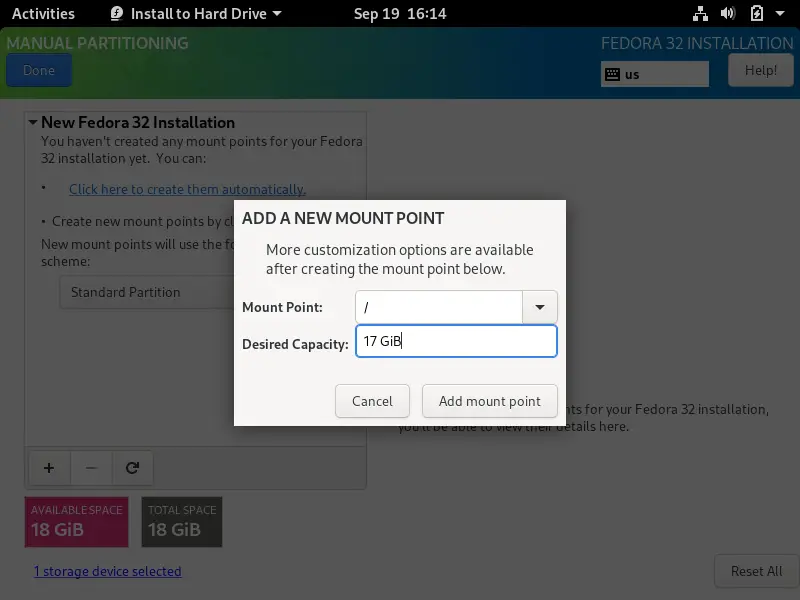
In the first partition that will be the system partition, define the mount point as / and the size. The disk is 18 GiB and I have created the 17 GiB partition to make room for the Swap partition. Then click on Add Mount Point.
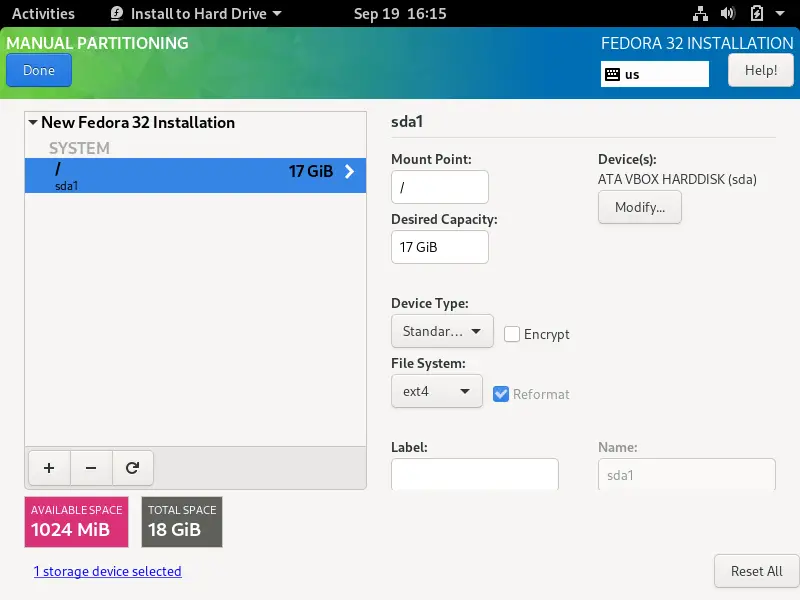
Now, you will see that the left section has been simplified and we only have the main partition. You can even choose another file system like BRTFS.
Now press the + button again to create the other partition for Swap. Again, define the mount point and size.
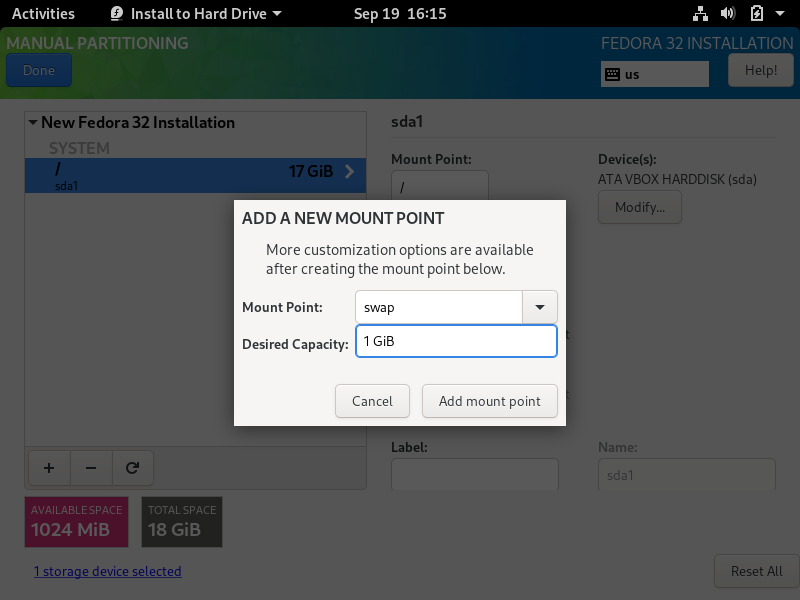
This is how the partition scheme will look like.
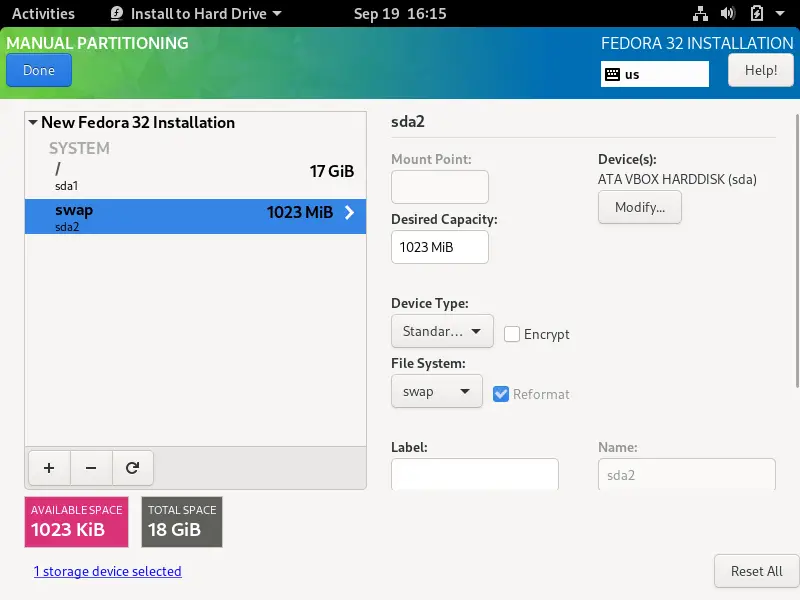
Click on Done to start the process. And we will leave the window where we are asked to review the changes and accept them.
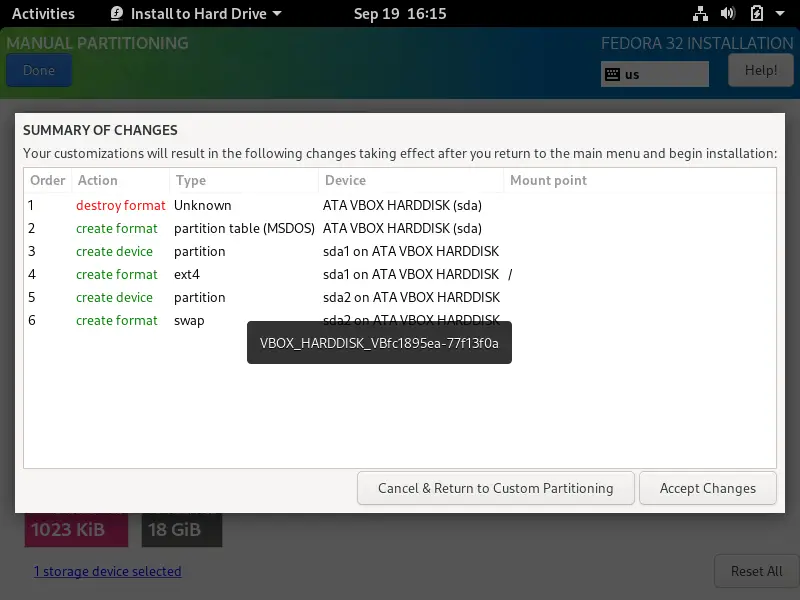
Continuing the process…
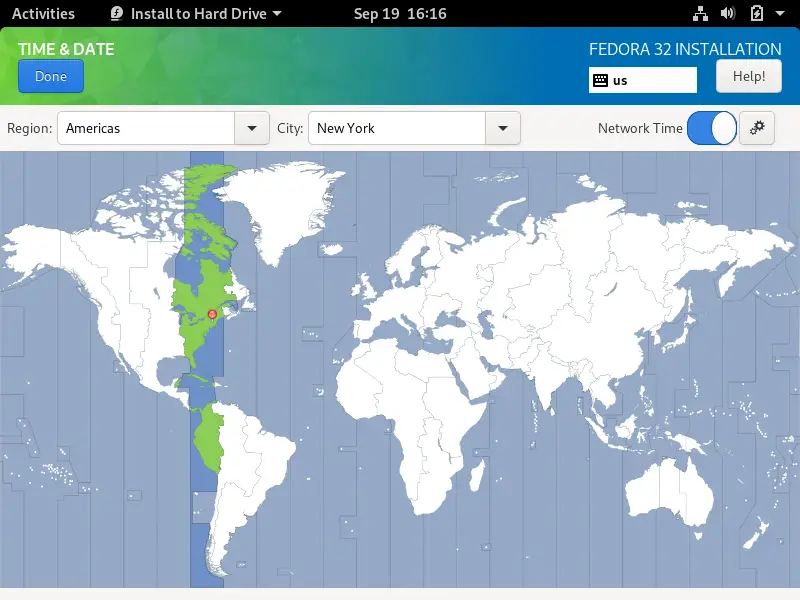
Then, you will see again the Installation Summary screen and the next step is to define your location. Click on Time & Date.
On this screen, you can also choose if you want to get the time from the network or manually from the settings button. When you are ready click on Done.
You will see the Installation Summary screen again, but this time there is nothing to do. Just click on Begin Installation to start.
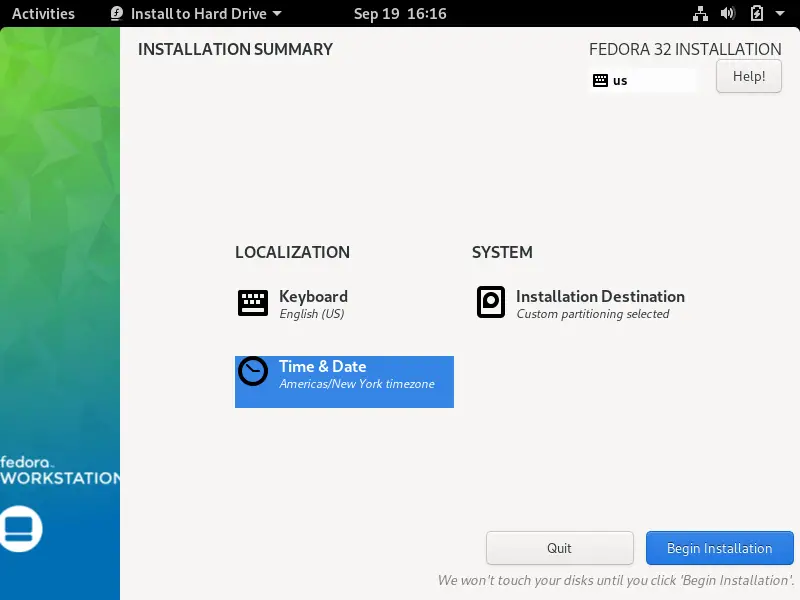
The process will start normally as shown in this image:
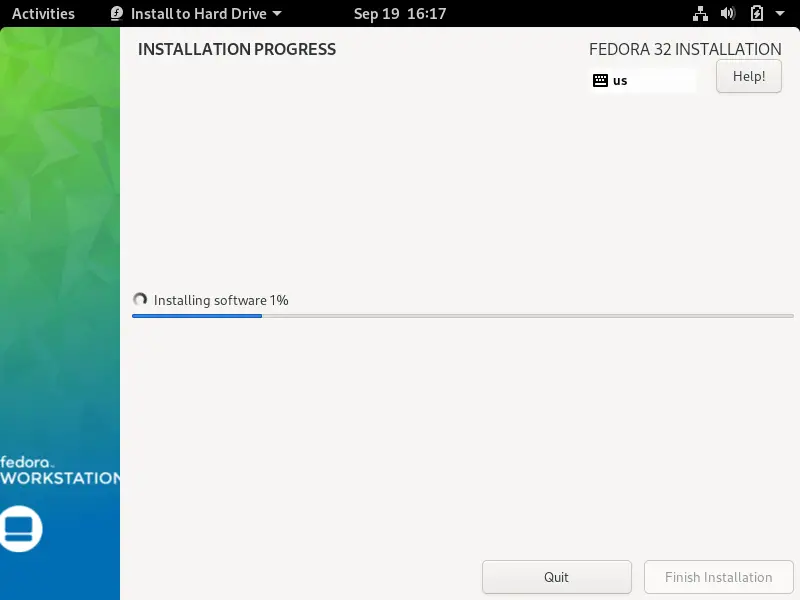
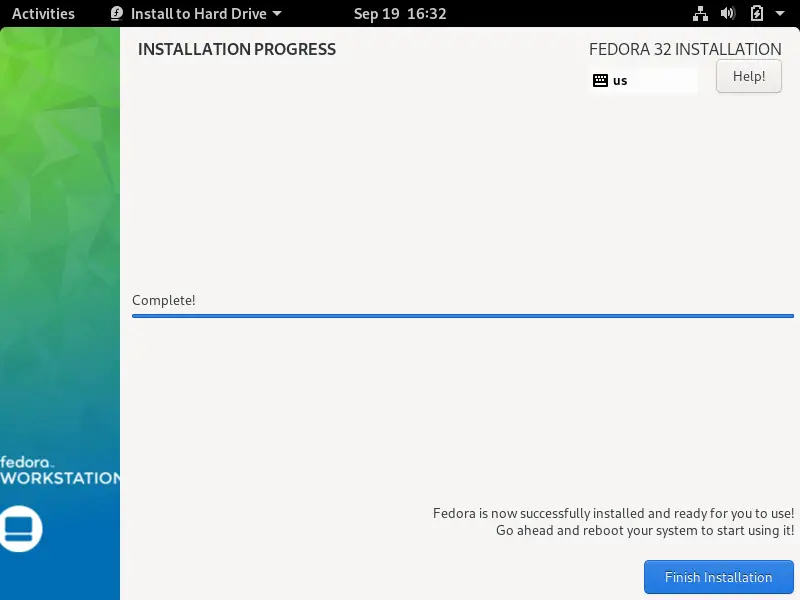
And when the installation is finished, you will see this screen and click Finish Installation to restart the system.
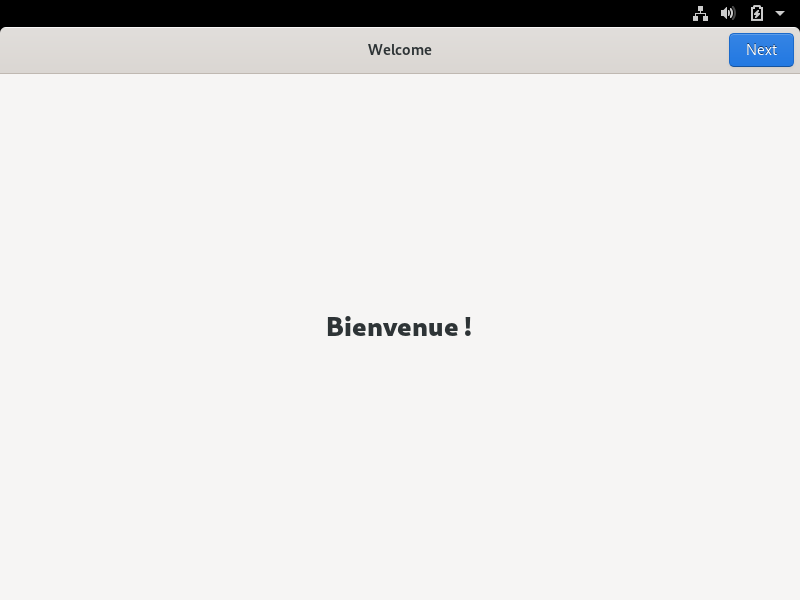
When the system loads, you will see the Welcome screen and if you click Next several times, you will see some useful information before using Fedora.
One of these screens allows you to create the user.

And then create a password for this user.

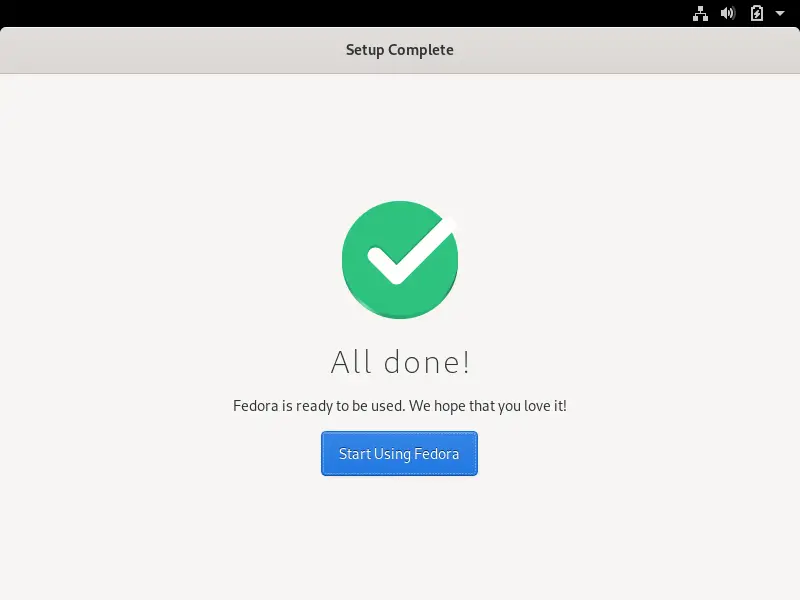
Next, you will see a screen informing you that the entire installation is complete and that you can use Fedora.
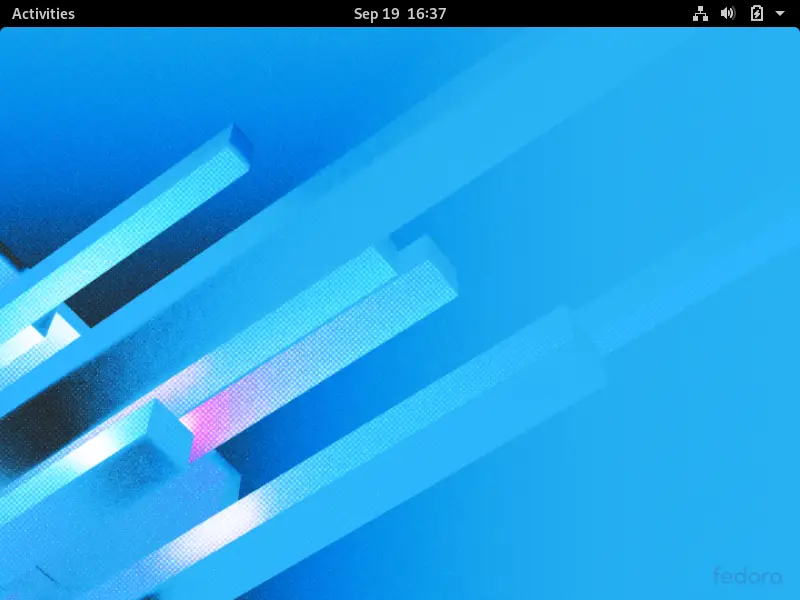
Finally your Fedora desktop.
Conclusion
The Anaconda installer makes Fedora fairly easy to install. Therefore, for such a flagship Linux distribution, it is within the reach of anyone.
The process is not that different from others because, in the end, they follow a clear outline. However, as always, partitioning can complicate more than one novice.
Now it’s up to you, do you like Fedora? have you used it?