It used to be that to have a forum, you had to be a bit of a guru. Fortunately, this has changed for the better, and it is now easy to deploy one of your own. To do so, you have to learn how to install applications like Discourse on Ubuntu 20.04 where you can quickly become the owner of one.
What is Discourse?
According to the tool’s website
Discourse is the 100% open source discussion platform built for the next decade of the Internet. Use it as a mailing list, discussion forum, long-term chat room and much more.
In other words, with Discourse we can not only have our forum system but a whole set of tools that allow us to build community. This has many advantages that can be exploited in many areas, from education to business.
Discourse is open source and can be installed on many Linux distributions thanks to technologies such as Docker. In addition to this, it uses PostgreSQL as database manager, which makes it ready for a lot of work.
Let’s get started.
Install Discourse on Ubuntu 20.04
So, to start the installation process, the server has to meet some requirements. These requirements can be automatically mitigated if we choose to install Discourse with Docker.
Installing Docker on Ubuntu 20.04
The most efficient and easiest way to get Discourse is to do it using Docker. To achieve this, open a terminal and update the complete system.
apt update
apt upgrade
Thereafter, you can install Docker by running
apt install docker.io net-toolsIn addition to Docker, we will install the net-tools package, which is necessary for the installation.
As always, you can check the status of the Docker service for any bugs
systemctl status dockerInstall Discourse on Ubuntu 20.04
After Docker is installed, it’s time to download the file with the installation instructions.
Create a folder for this file
mkdir /opt/discourseThen, thanks to the git command, you can start the download.
git clone https://github.com/discourse/discourse_docker.git /opt/discourseAccess the folder called discourse where the file is located.
cd /opt/discourseAnd from there run the installation file.
./discourse-setupYou will get an output screen similar to this
Ports 80 and 443 are free for use
samples/standalone.yml' -> 'containers/app.yml'.
Found 4GB of memory and 3 physical CPU cores
setting db_shared_buffers = 1024MB
setting UNICORN_WORKERS = 6
containers/app.yml memory parameters updated.
Then, the whole configuration and installation process will start according to the answers you give to each of the questions you will be asked.
The first one is about the hostname. For this, you need to have a valid domain name.
Hostname for your Discourse? [discourse.example.com]:Then, the administrator’s email address
Email address for admin account(s)? [[email protected],[email protected]]: As SMTP server, you can use your own or a GMAIL server.
Then you will see a summary with all the options you have set up
Does this look right?

Hostname : your-domain
Email : [email protected]
SMTP address : [email protected]
SMTP port : 587
SMTP username :
SMTP password :
Notification email: noreply@your-domain
Maxmind license: (unset)
If you agree with everything, you can start the installation.
Now you have to be patient because the process takes a few minutes.
Access Discourse
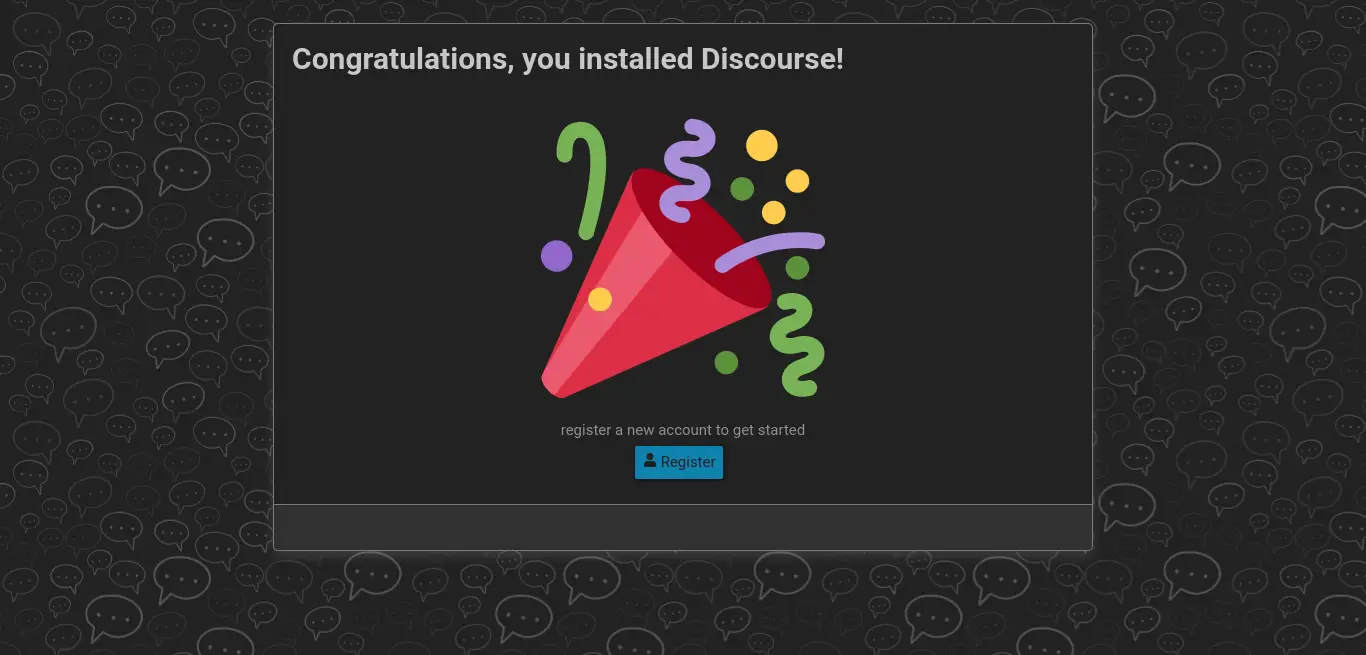
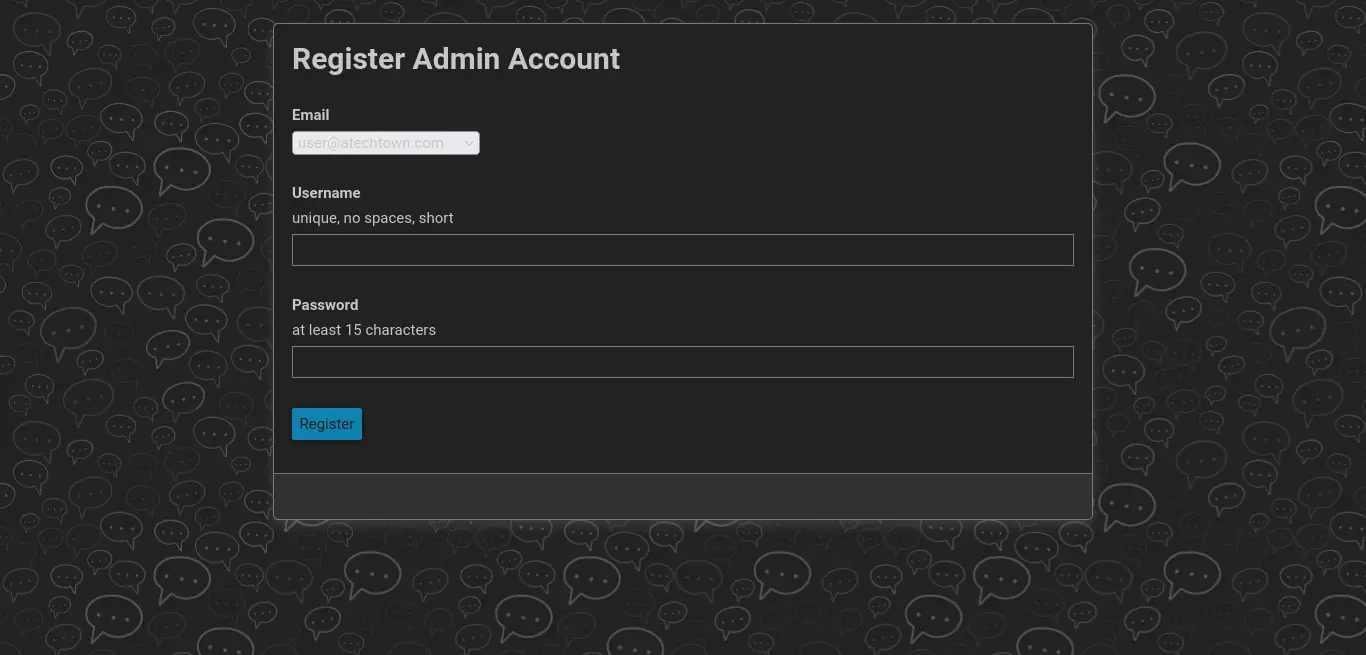
Now, open a web browser and log in to your domain to see this screen where you will have to register a new user.


Then, you will be able to use Discourse without any problems.
Conclusion
The world of open source is advancing and advancing and giving us new tools, and it’s getting to the point where we can create entire communities thanks to Discourse. I hope the installation of this tool will encourage you to do it yourself.
So, please share this post with your friends.