Of the web applications that are made, those made with Java prove to be very powerful and stable. However, to run them you need a tool on your computer. In this post, you will learn how to install Apache Tomcat on Ubuntu 20.04 using the package that they offer us.
What is Apache Tomcat?
Apache Tomcat is a servlet container that can be used to compile and run web applications made in Java. It is sponsored by the Apache Foundation hence its name although it is also known as Tomcat.
So Tomcat is software that allows a webserver to handle dynamic web content based on Java using the HTTP protocol. JSP is a similar technology that allows developers to create dynamic content using HTML or XML documents.
Therefore, Tomcat is necessary when building web applications using Java and JSP technologies. This is the main difference concerning a traditional web server such as Apache or Nginx.
Being sponsored by the Apache Foundation, we can assure you that Tomcat is open-source which will save us many licensing problems and we can use it in many cases.
Install Apache Tomcat on Ubuntu 20.04
To install Tomcat, we have two different methods from which you can choose. One of them is via official repositories but the other one is using the binary provided by the application developers.
Method 1: Install Apache Tomcat with APT
Apache Tomcat is available from the official repositories and to install it just run this pair of commands:
sudo apt update
sudo apt install tomcat9
This method, although quite simple to use and execute, does not provide us with the ultimate stable version. Also, it takes away a bit of flexibility in the management of the configurations. Therefore, although functional, we believe it is better to use the following method.
Method 2: Install the latest version of Apache Tomcat on Ubuntu
This method, which is recommended by many developers, requires a bit more work, but you will get the latest stable version and be a bit more aware of the configurations to be made.
First, install Java on Ubuntu 20.04 by running the following command:
sudo apt install default-jre default-jdk
Then, make the root user login via:
sudo -i
And create a group called tomcat You can use any other name you want, just be careful with the rest of the tutorial.
groupadd tomcat
After this, create a new user that belongs to the group we created. Also, set the path /opt/tomcat as its home directory. In my case, I have named it tomcat but you can choose another name.
useradd -s /bin/false -g tomcat -d /opt/tomcat tomcat tomcat
With the group and user already created, the next thing to do is to navigate to the /opt/ folder and from there using the wget command download the latest stable version of Apache Tomcat.
cd /opt/
wget https://downloads.apache.org/tomcat/tomcat-9/v9.0.45/bin/apache-tomcat-9.0.45.tar.gz
Decompress the file and rename the folder it creates.
tar -xzvf apache-tomcat-9.0.45.tar.gz
mv apache-tomcat-9.0.45 tomcat
Make the tomcat folder belong to the tomcat user we created. Also, give execute permissions to all Tomcat binary files.
chown -R tomcat:tomcat /opt/tomcat/
chmod +x /opt/tomcat/bin/*
Next, edit the bashrc file to add the Tomcat PATH variable to the system.
nano ~/.bashrc
And at the end of the file, add:
export CATALINA_HOME=/opt/tomcat
After saving the changes, exit the editor and start Tomcat.
/opt/tomcat/bin/startup.sh
Sample Output:
Using CATALINA_BASE:   /opt/tomcat
Using CATALINA_HOME:   /opt/tomcat
Using CATALINA_TMPDIR: /opt/tomcat/temp
Using JRE_HOME:        /usr
Using CLASSPATH:       /opt/tomcat/bin/bootstrap.jar:/opt/tomcat/bin/tomcat-juli.jar
Using CATALINA_OPTS:
Tomcat started
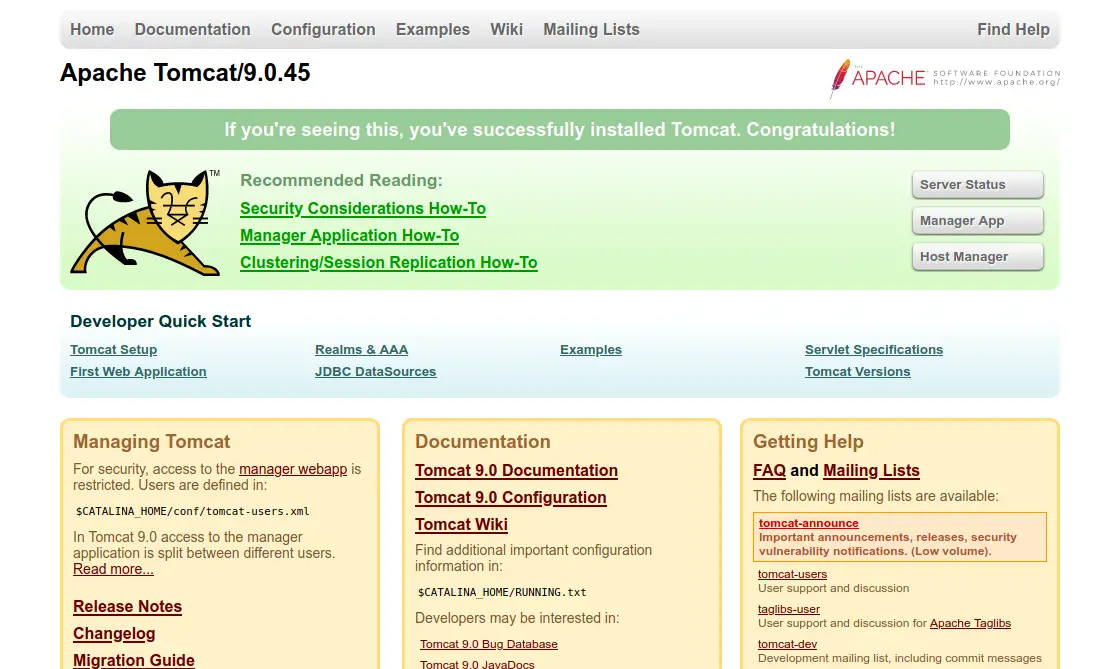
Tomcat will now be available from http://your-server:8080 remembering that this port has to be open on the firewall.

To stop Tomcat, run
/opt/tomcat/bin/shutdown.sh
And to add a user and password for access, edit the tomcat-users.xml file in /opt/tomcat/conf/.
sudo nano /opt/tomcat/conf/tomcat-users.xml
And alter the following lines to suit your needs.
<role rolename="manager-gui"/>
<user username="XXXXXX" password="XXXXXXX" roles="manager-gui,admin-gui"/>
Start it again and you are done.
So, Apache Tomcat is installed and ready.
Conclusion
During this post, we have described the steps to install Apache Tomcat on a server with Ubuntu 20.04. For this, you have two different methods and each with its pros and cons, although the second one is the most recommended for its flexibility and the recent version.
So, share this post and write a comment telling us about your experience.