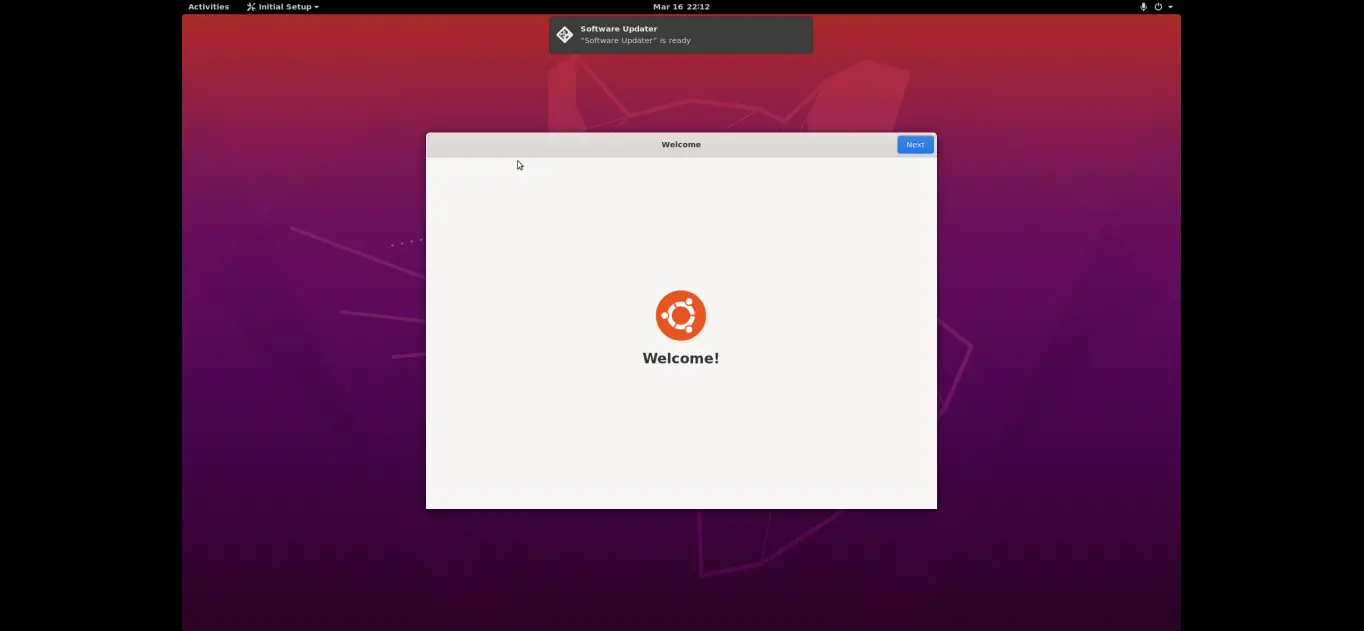
Many jobs are now being done remotely. And one of them is the technical assistance that thanks to the remote desktop we will be able to manage another computer as if it were our own. So it is necessary to know how to install and configure VNC on Ubuntu 20.04 in this way the system will be ready to receive remote connections.
What is VNC?
VNC is open-source client-server software that allows you to see the screen of the server computer and control it on one or more client computers no matter what operating system the client or server is running, you can see the screen and control the server computer from the client.
This VNC tool is highly valued by those who work away from home, either for business trips or any other reason, its simple installation wizard will give you the option to run it or install the server package so that the computer you are using at that time is controlled remotely, as the client option to install the package that will allow you to connect and control the remote computer at will.
So it is normal that a system like Ubuntu, which is characterized by being widely used, has VNC.
Install and configure VNC on Ubuntu 20.04
There are several VNC programs that we can install and configure, TigerVNC being one of the best. This is the one we are going to install and configure in this post.
On the other hand, it is assumed that the Ubuntu 20.04 installation already has a desktop environment but I will explain how to install one quickly.
Optional: Install the Ubuntu Desktop Environment
In case your Ubuntu installation doesn’t have a desktop environment, we can install one with the tasksel tool.
So, open a terminal or connect via SSH and update Ubuntu.
sudo apt update
sudo apt upgrade
Then, install Tasksel by running
sudo apt install tasksel
After that, run it with sufficient permissions.
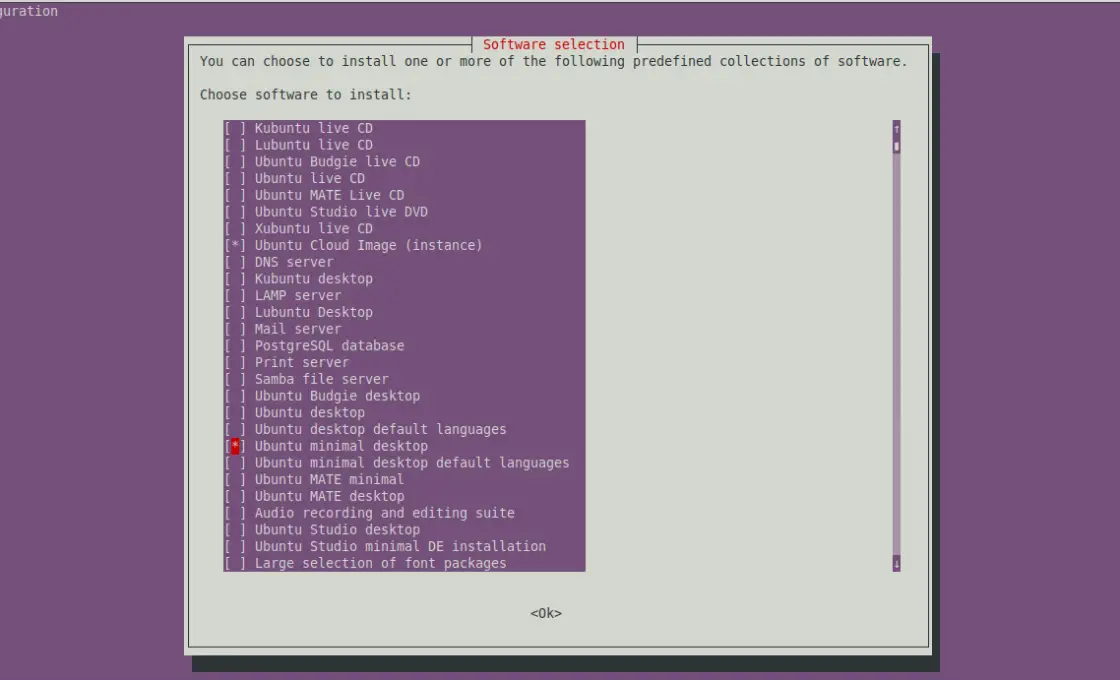
sudo tasksel

On the screen that appears, you can choose the desktop environment of your choice. In this case, I have opted for a minimal installation of the Ubuntu desktop environment.
After the installation finishes, which may take some time depending on your connection speed and resource availability, run this command to make the default graphical environment run.
sudo systemctl set-default graphical.target
Output:
Created symlink /etc/systemd/system/system/default.target → /lib/systemd/system/system/graphical.target.
Now we have the desktop environment.
Configuring VNC on Ubuntu 20.04
Now you can install VNC on Ubuntu 20.04 by running the following command
sudo apt install tigervnc-standalone-server tigervnc-common
Then, you should create a new user to be used for this. To do this, you can run:
sudo useradd -m -s /bin/bash/ -G sudo user
Replace user with the name of your choice.
So, assign a password
sudo passwd user
Now use the su command to switch to the session of the user you have created.
su - user
And assign a VNC password with the command
sudo vncpasswd
Output:
Password:
Verify:
Would you like to enter a view-only password (y/n)? n
And now start VNC by running the following command:
vncserver -localhost no
Output
New 'imaginelinux:1 (user)' desktop at :1 on machine imaginelinux
Starting applications specified in /etc/X11/Xvnc-session
Log file is /home/user/.vnc/imaginelinux:1.log
Use xtigervncviewer -SecurityTypes VncAuth,TLSVnc -passwd /home/user/.vnc/passwd imaginelinux:1 to connect to the VNC server.
This way it only remains from a computer with a remote desktop client, to access the system.
Creating a new service for VNC
To better manage VNC, a new systemd service should be created. If VNC is running, stop it running.
sudo vncserver -kill :1
And create the new file
sudo nano /etc/systemd/system/[email protected]
So, add the following content
[Unit]
Description=Remote desktop service (VNC)
After=syslog.target network.target

[Service]
Type=simple
User=user2
PAMName=login
PIDFile=/home/%u/.vnc/%H%i.pid
ExecStartPre=/usr/bin/vncserver -kill :%i > /dev/null 2>&1 || :
ExecStart=/usr/bin/vncserver :%i -localhost no -geometry 1024x768
ExecStop=/usr/bin/vncserver -kill :%i

[Install]
WantedBy=multi-user.target
Save the changes and refresh the list of system services.
sudo systemctl daemon-reload
Then, enable the VNC service to start along with the system and restart it.
sudo systemctl enable [email protected]
sudo systemctl start [email protected]
And now you can connect from a client program and enjoy VNC and remote assistance in Ubuntu 20.04.

Conclusion
VNC is a very popular tool among computer scientists because it allows them to remotely manage a computer. So for technical support, it is quite prudent to have it installed and configured on a system like Ubuntu 20.04 and you have learned that in this blog.