Today you will know possibly one of the simplest and most useful applications you can use. Today, you will learn how to install Caffeine on Ubuntu 20.04
Have you ever used a full-screen application and had to move the mouse to keep the screen from turning off? Let’s say that that application is VLC and you are watching a movie or a photo slideshow application, isn’t it annoying?
Caffeine for Ubuntu
Well, this definition describes perfectly what Caffeine is
“Caffeine prevents the desktop from becoming idle when an application is running full-screen. A desktop indicator ‘caffeine-indicator’ supplies a manual toggle, and the command ‘caffeinate’ can be used to prevent idleness for the duration of any command.
As simple and useful as this. So it is always useful to have these tools at hand to use.
Install Caffeine on Ubuntu 20.04
Caffeine is included in the official Ubuntu 20.04 repositories so the installation is quite simple.
So, open a terminal and execute the following commands:
sudo apt update
sudo apt install caffeine
Output:
Reading package lists... Done
Building dependency tree
Reading state information... Done
The following additional packages will be installed:
gir1.2-ayatanaappindicator3-0.1 libayatana-appindicator3-1
libayatana-indicator3-7 python3-ewmh python3-xlib
Suggested packages:
python-ewmh-doc
The following NEW packages will be installed:
caffeine gir1.2-ayatanaappindicator3-0.1 libayatana-appindicator3-1
libayatana-indicator3-7 python3-ewmh python3-xlib
0 upgraded, 6 newly installed, 0 to remove and 504 not upgraded.
Need to get 218 kB of archives.
After this operation, 1349 kB of additional disk space will be used.
Do you want to continue? [Y/n]
And after entering the password and accepting the changes, the installation process will begin.
Optional: Install the latest version of Caffeine
The previous step is quite safe since we are relying on the main Ubuntu repository but we won’t get the latest stable version of caffeine. So, we’ll miss out on news and security fixes.
If you want you can get the latest version of Caffeine by adding the developers’ PPA repository
Open a terminal and run
sudo add-apt-repository ppa:caffeine-developers/ppa
sudo apt-get update
Then, if you already have Caffeine installed:
sudo apt upgrade
But if you haven’t installed it:
sudo apt install caffeine
And then you can run it from the main menu.
How to use Caffeine
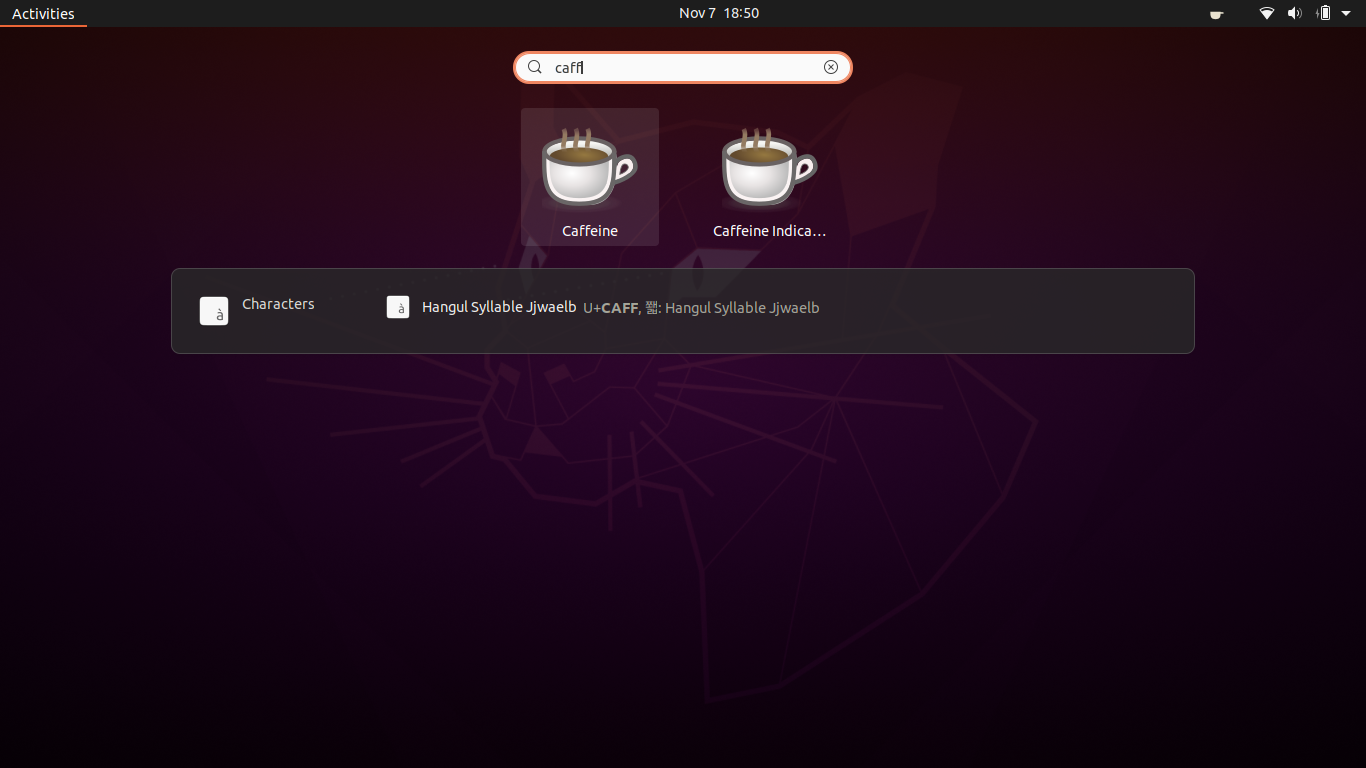
Once Caffeine is installed, if you search for caffeine in Ubuntu’s main menu, you will find two options.

The one you have to choose is the second one, the one that refers to the indicator.
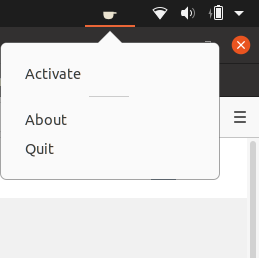
Once you run it, you will see in the system tray, in the upper right corner, an icon that is Caffeine.

If you click on it, you can see the application options. Only, you can activate or deactivate it, get information about it, or close it.

If you activate it, the icon will change

So, this is it. It’s really easy? but it’s quite useful to have this type of application.
How to remove Caffeine
If you get tired of Caffeine or simply don’t want to use it anymore, you can uninstall it from the system.
In the terminal, execute the following command:
sudo apt remove caffeine
If you have installed Caffeine using the PPA repository, you may also want to remove the PPA from your list of software sources.
In that case, run these commands:
sudo add-apt-repository --remove ppa:caffeine-developers/ppa
And then,
sudo apt update
This will leave no trace of Caffeine in the system.
Conclusion
Sometimes the production is given to us by small applications like Caffeine wich with little help to perform tasks that can be annoying for a matter of concentration. Now you know how to install and use Caffeine in a basic way with this post.
So, did you know Caffeine? Do you like it? Have you used it? Leave us a comment and share this post.